How to Edit the Student Homepage (Post-16)
This article will show you how to customise the student homepage, which is typically used for Year 12 forms.
Navigate to 'Settings' > 'Form Settings' > 'Student Homepage'.

Please note that the student homepage is only visible to students when they log in. If your application form allows parents to log in, they will only see the parent homepage.
On the Student Homepage, there is a configuration option for how the student's name will be displayed.
If you select 'Preferred Forename or First Name,' students will be greeted by their preferred name if they have provided one. Otherwise, it will default to their legal first name.

You can edit/customise the welcome message and image by clicking the 'Edit' button. You can also see how this will appear to a student by clicking the 'Preview' button.
Note: This message and image will only be visible to students logging in to complete the specific form you are working on. These settings do not apply across multiple forms or intakes.
File Upload Guidelines:
- You can upload files with a maximum size of 25MB per file.
- Images will be automatically resized to 800x800 or smaller, based on their original dimensions.

Once you have set your message and image, you can choose which settings to activate to customise the information displayed on the student homepage when a student logs in.

-
Show Student Code – Displays the unique code assigned to each applicant when their account is created. This is a unique identifier set by your Admissions+ system.

-
Show School Name in Landing Page – Allows you to display your school name when a student logs in.

-
Show Courses You Wish to Study – Displays the subjects chosen by an applicant.

-
Show Application Status – Displays the status of the student's form, such as "Complete" or "Incomplete."

-
Show Offer Status – Displays whether a student has received an offer and, if so, whether they have accepted it.
-
Show Reference Status – Displays whether a reference request has been sent and whether the reference has been completed.
-
Show Documents in Homepage – Enables you to display any documents added to your Uploaded Documents area.

-
Show Year of Entry – Displays the year the student is expected to start at your institution.
-
Show Term of Entry – Useful if students join at various points throughout the year rather than only in September. Students can specify Autumn, Spring, or Summer as their term of entry, and this answer will be displayed on the student homepage if this setting is enabled and the question is active in your application form.

-
Show Year Group Applied For – Displays the year group the student is applying to join.
-
Show Application Form – Displays the name of the form, allowing students to see which application form they are completing.
-
Show Academic Years – Displays the academic year to which the application form applies.

**Additional Features in the New Interface
**
-
Upcoming Events – Students can view upcoming events.

-
Calendar View – Students can view their daily schedule, with the option to switch between Month, Week, or Day views.

-
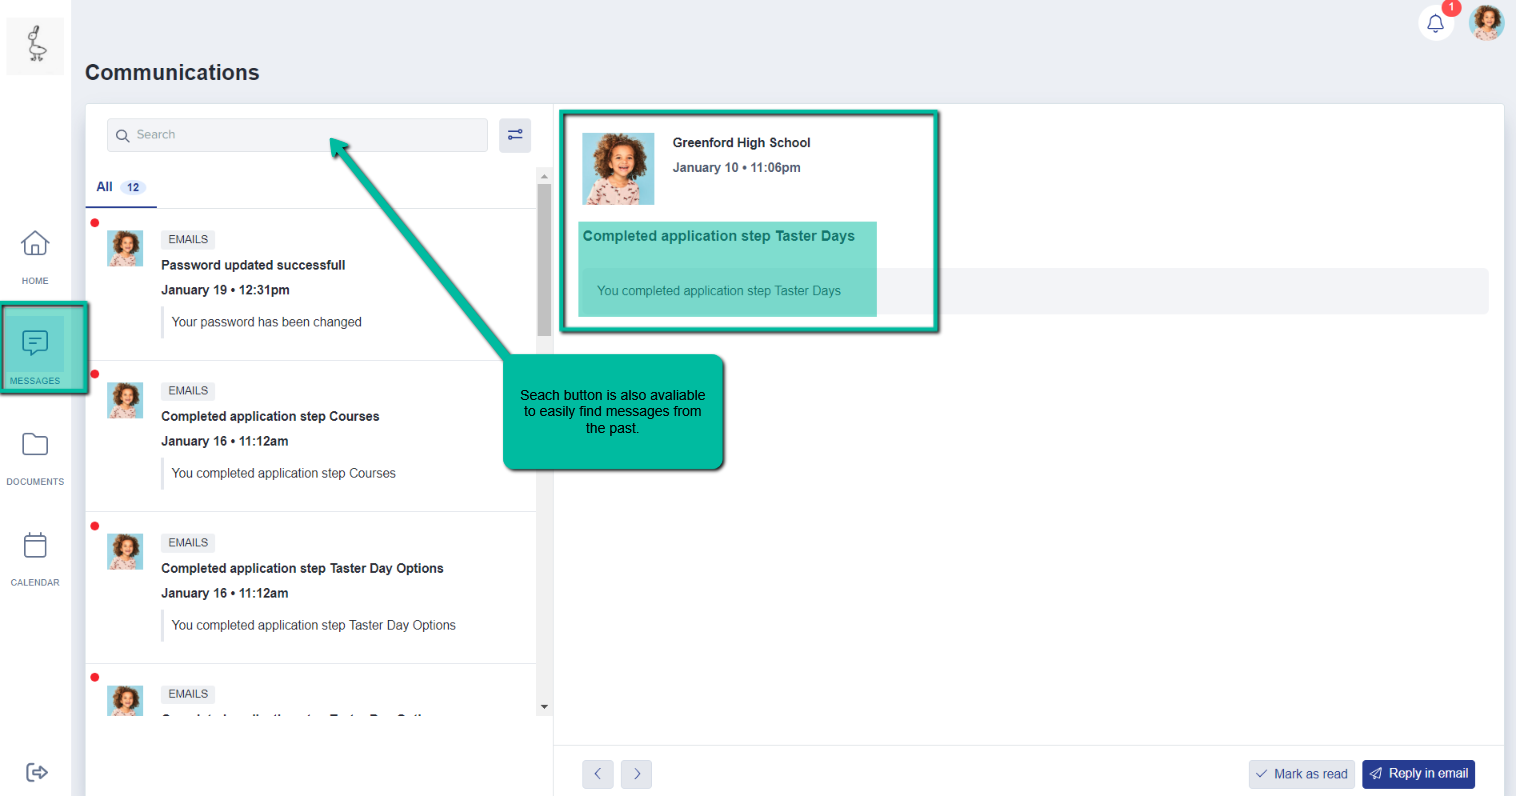
Messages – Students can view all communications and emails sent to them. They can also see which phase of the application process they have completed so far.

- Notifications – The bell icon in the upper right-hand corner of the screen displays notifications.

Was this article helpful?