How to set up a bursary application group and allocate students to it
This article will guide you on how you can add a new application group in your bursary platform to group students together for ease of tracking and communication
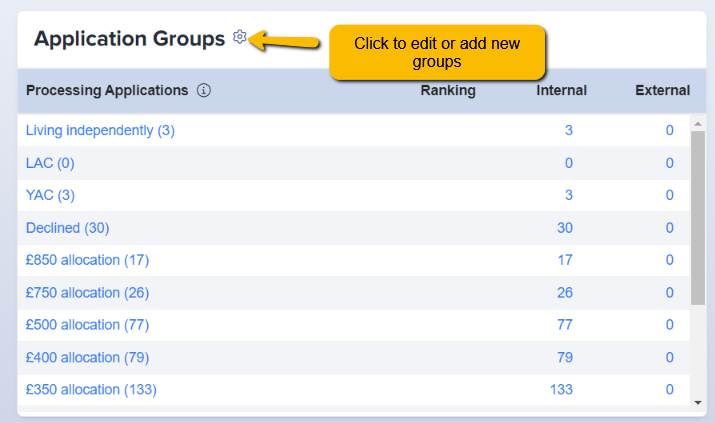
First, click on Settings > Form Settings > Application group, or click on the Application Groups tab at the top of your main dashboard

There are already default application groups in the system but you can rename or create new ones if you wish.
There are also settings that you may choose; whether you like students to be part of multiple groups or one at a time, and the option to send an email to students notifying them of when you add them to a group.
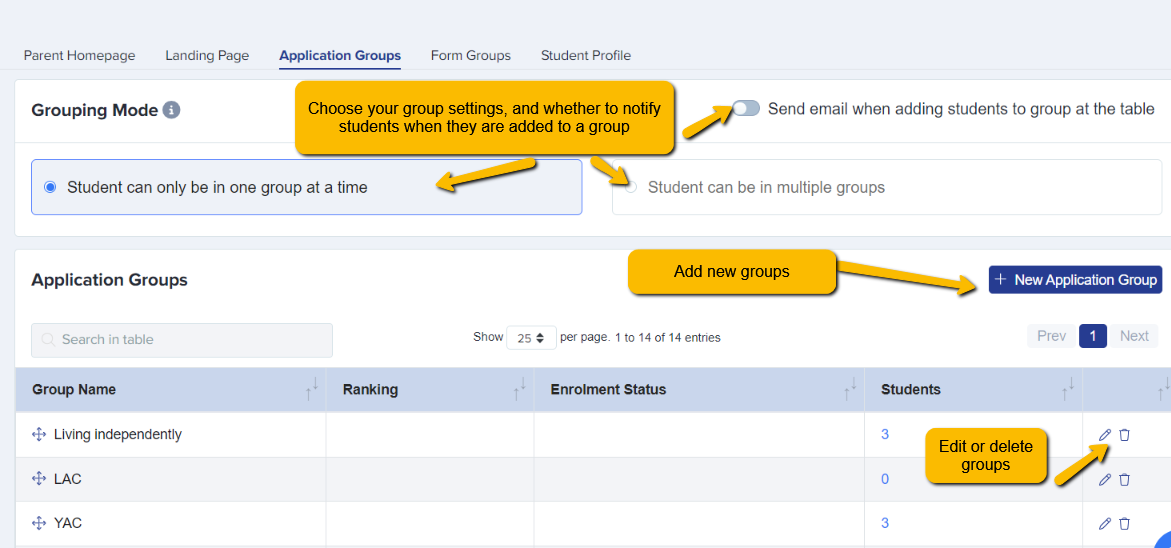
To create a new Application group, click on '+New Application Group'
You can just fill out the required field which is name, the other fields are optional.
Click 'Create Group' when done.

Allocating Students to Groups
Once groups are set up, you can move students into them as follows:
- Go to your main dashboard by clicking the B16+ icon in the top left of your screen

- Click on a dashboard tile, or a list of students from your Registered Students table

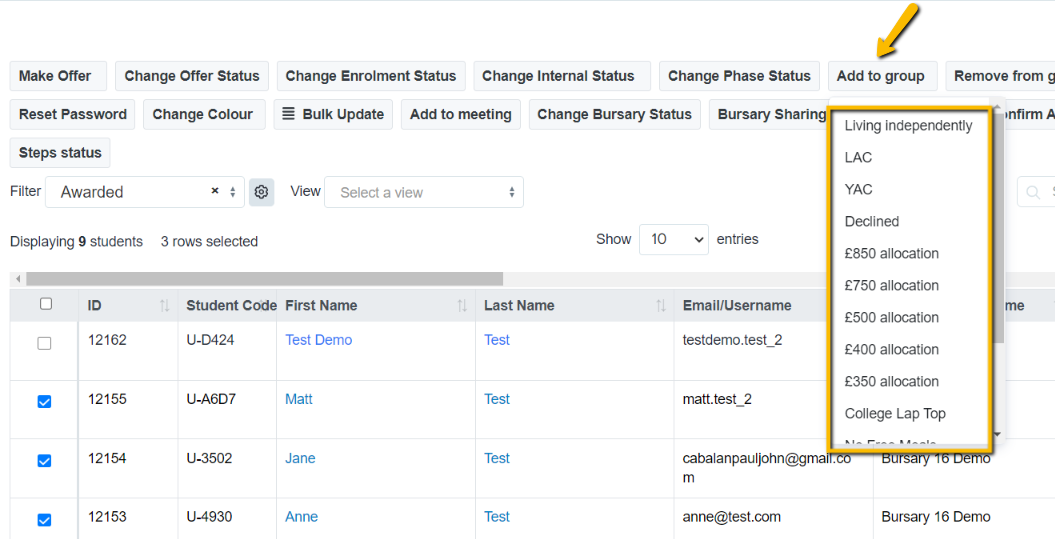
- Select the students you wish to add to a group by clicking the check boxes

- Use the Add to Group function to select which group to allocate them to
Was this article helpful?