It’s a secure bridge that moves data both ways between SIMS and Applicaa.
Day-to-day admissions are managed on the cloud Admissions + platform; the SIMS app is only used when data needs to be pushed to or pulled from SIMS (typically a few times a year, depending on your workflow).
Where it should live
Because it talks directly to the SIMS database, it must be installed on a machine that already has SIMS Database access – usually the server that hosts the SIMS Database or a Third-Party Connector machine or a dedicated workstation on the SIMS network.
How staff access it
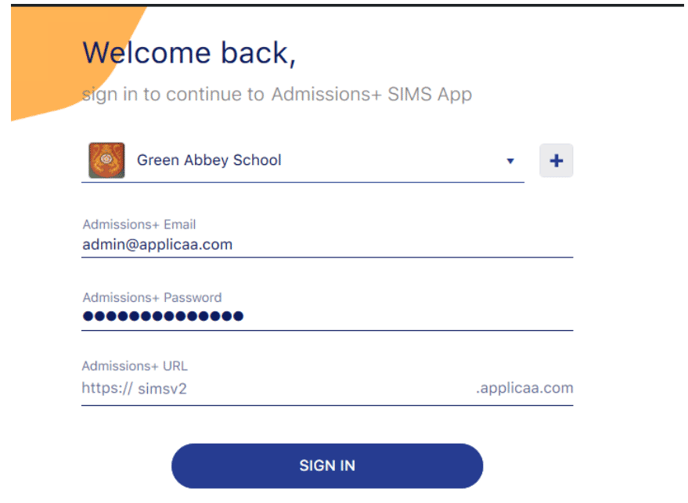
When data needs to be transferred, staff open the Admissions + SIMS App.
If it’s on a workstation they can log in locally; if it’s on the connector server they simply remote-desktop into that machine.
A VPN is required only when staff are off-site or if your SIMS server is hosted off-premises – no VPN is needed on the local network.
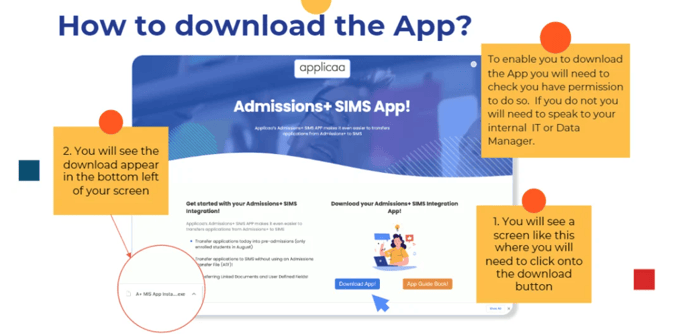
In order to fully setup your Admissions+ SIMS App, you will need to access your downloaded
SIMS App on your computer.
img4.png149 KB
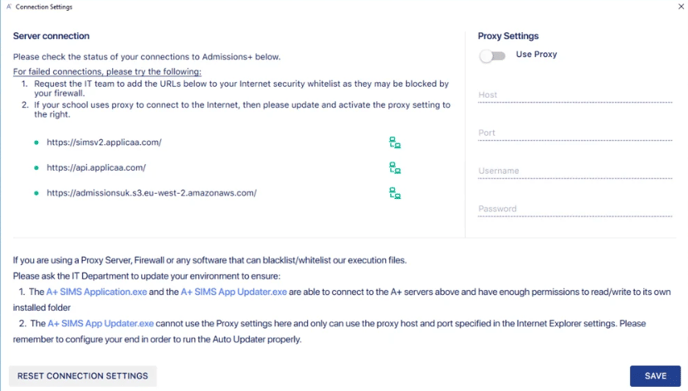
Once accessed please click on "Connection Settings":
img5.png22.3 KBimg6.png5.45 KB
You will be directed to the "Server Connection" page. On this page you will see the URLs that need to be added - please open this list and ask your IT Manager to whitelist each of them, as URLs may vary per system:
img7.png60.8 KB
Completing this process will ensure your SIMS App is connected successfully to your school's SIMS system, and data can be transferred as required.
SIMS App Installation and System Requirements
1. What technical processes are involved? What is the size, location and kind of inputs/outputs?
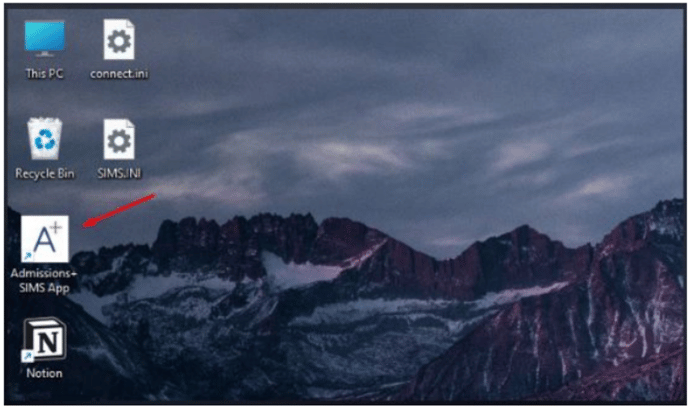
The A+ SIMS app is installed locally on the teacher's machine.
The default installation folder is: C:\Program Files (x86)\Applicaa\Admissions+ SIMS App but you can change it according to your preference.
If your school is hosted by SCOMIS, you don’t need to install the Admissions+ SIMS App as it’s already installed on their network. You just need to request access and use it via SCOMIS’s WebClient where the application is published.
Process for gaining access to the Admissions+ SIMS App:
To request access, please send a request to SCOMIS asking for Admissions+ to be set up.
Here’s what you need to provide:
1. Create an Admissions+ User in your SIMS Database with the following permission group assigned: - Admission Officer - Class Teacher - Curriculum Manager
If the user hasn’t been set up yet, please ask a System Manager at your school to do this.
2. You’ll also need the server name and database of each SIMS Database you want to connect the app to. You can find this information in F:\Public\SIMS\Connect.ini.
Alternatively, you can ask a System Manager at your school to request this information from SCOMIS. Here’s an example of what this information should look like:
Database Name = DemoSchool
Server Name = SIMSDB**\SIMS2008
For more information, please visit SCOMIS’s FAQ guidance page:
Using the Admissions+ SIMS App with multiple Schools:
If you’re using the Admissions+ SIMS App for multiple schools, you can set up multiple schools on one instance of the app after you’ve gained access. Once you have more than one school set up on the app, each time you launch the app, you can select the school you’d like to access.