Meetings Area - Invitation Automation Feature
This feature is designed to streamline the invitation process by enabling invitations to be sent automatically, either immediately upon configuration or at a scheduled date and time. This ensures timely and consistent communication while reducing the need for manual intervention.
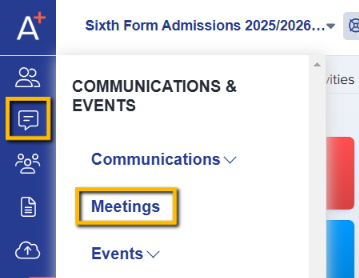
From the dashboard, click on Communications & Events and select Meetings.
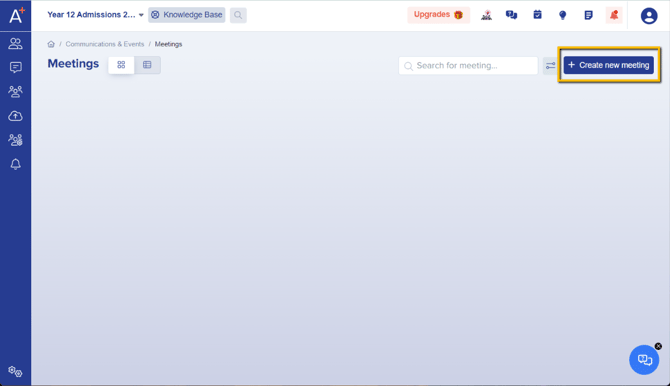
In the Meetings area, click on the + Create new meeting button on the upper right-hand hand corner.
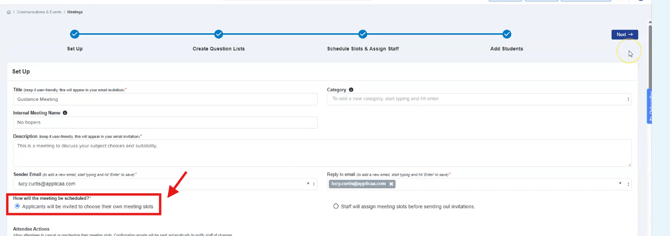
First step is Set Up. This is where you can specify the details of the meeting.
Note: The meeting set up should be "Applicant's will be invited to choose their own meeting slot", in order to make use of the invitation automation feature.
All the other steps are the same as the usual Meeting Creation.
You will notice the difference once you are on the Add Students function in the final stage of setting up a meeting.
You will see the invitation mode and can set it up to Auto-Invite:

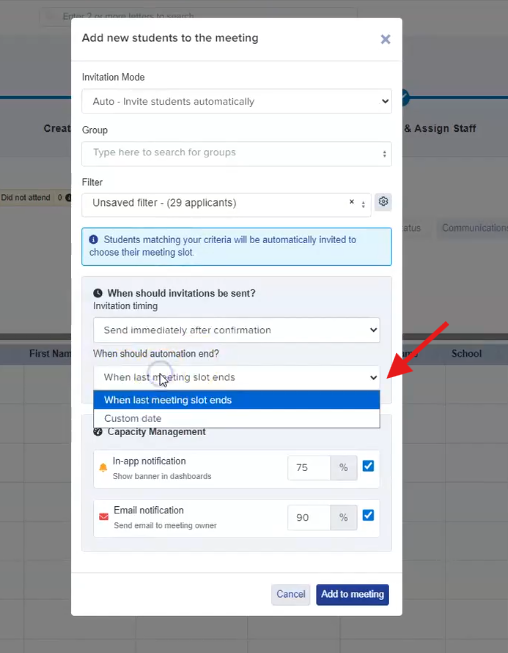
Once you have added the students in, you can choose to either send the invitation immediately or schedule it for a specific date and time.
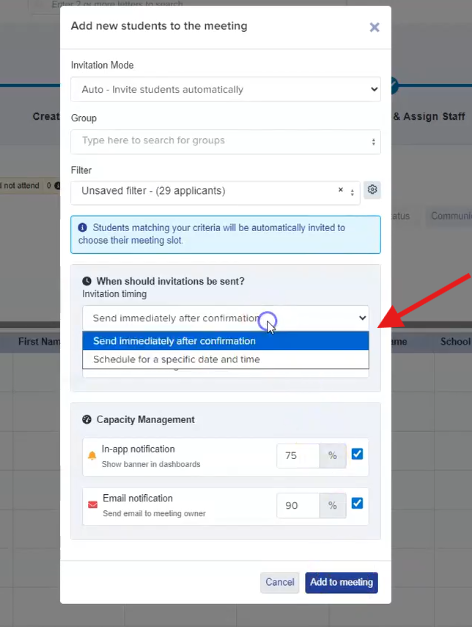
You can set up a time as well when the automation of sending the invitations will end.
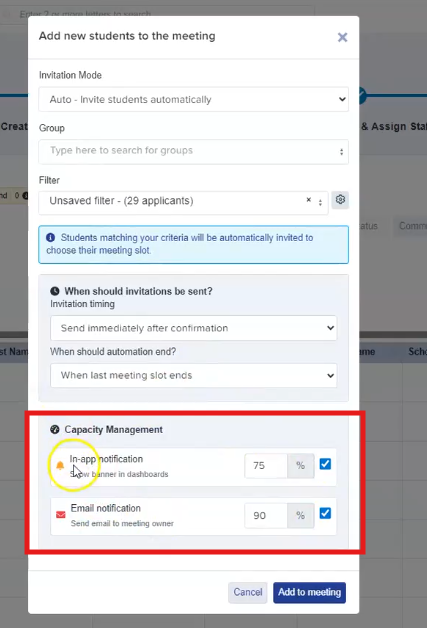
Notifications can also be configured based on the capacity of meeting slots, allowing alerts to be triggered when a specified percentage threshold is reached.
Once the setup has been completed correctly and all required fields have been configured, the “Auto Invite active” icon will be displayed, and invitations will be sent automatically as per your configuration.

Was this article helpful?