
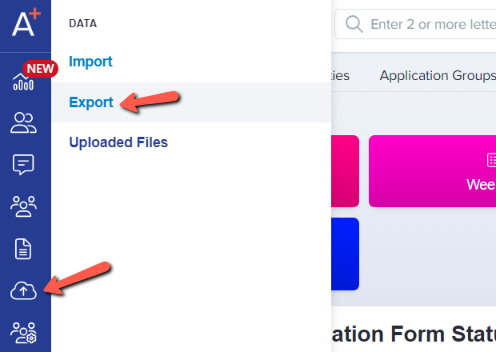
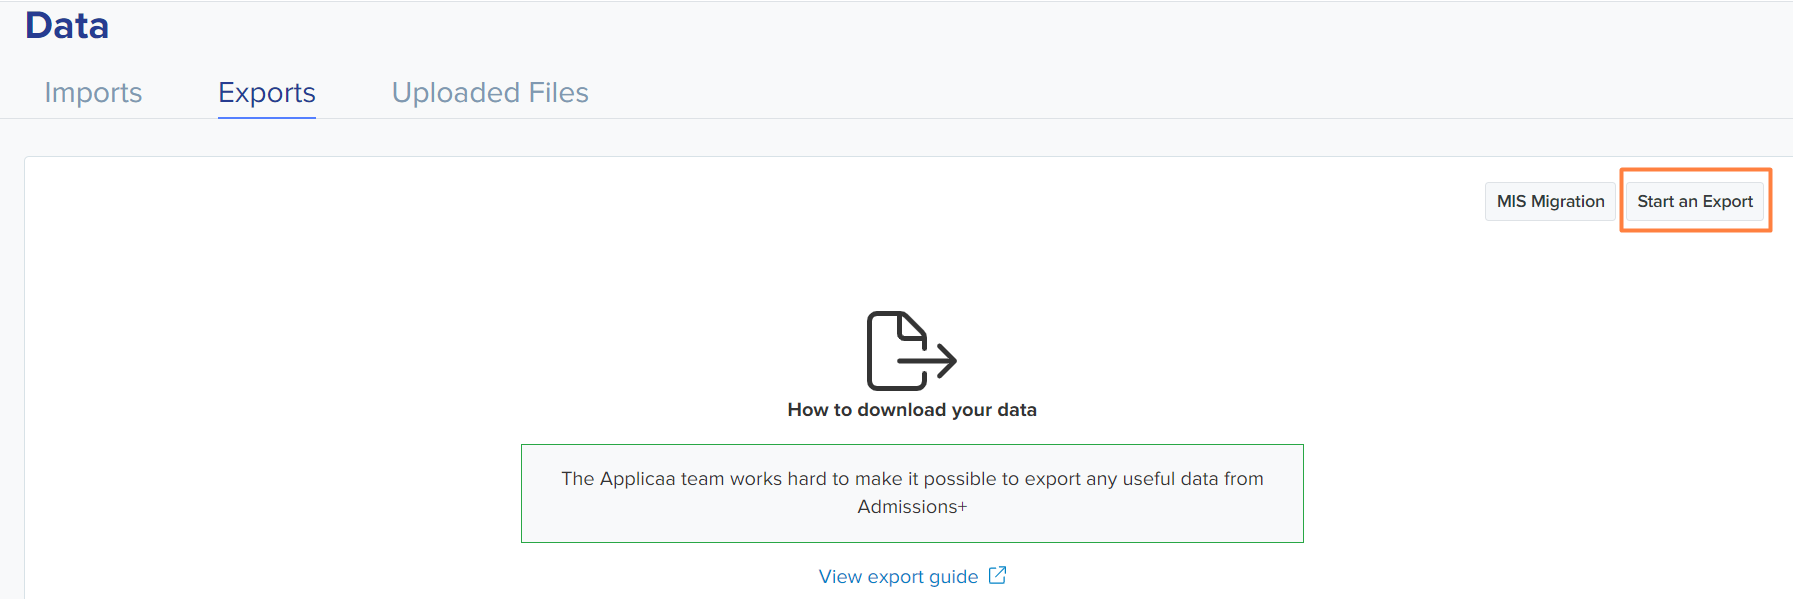
From the dashboard, click on Data, select Export, and click on Start an Export.
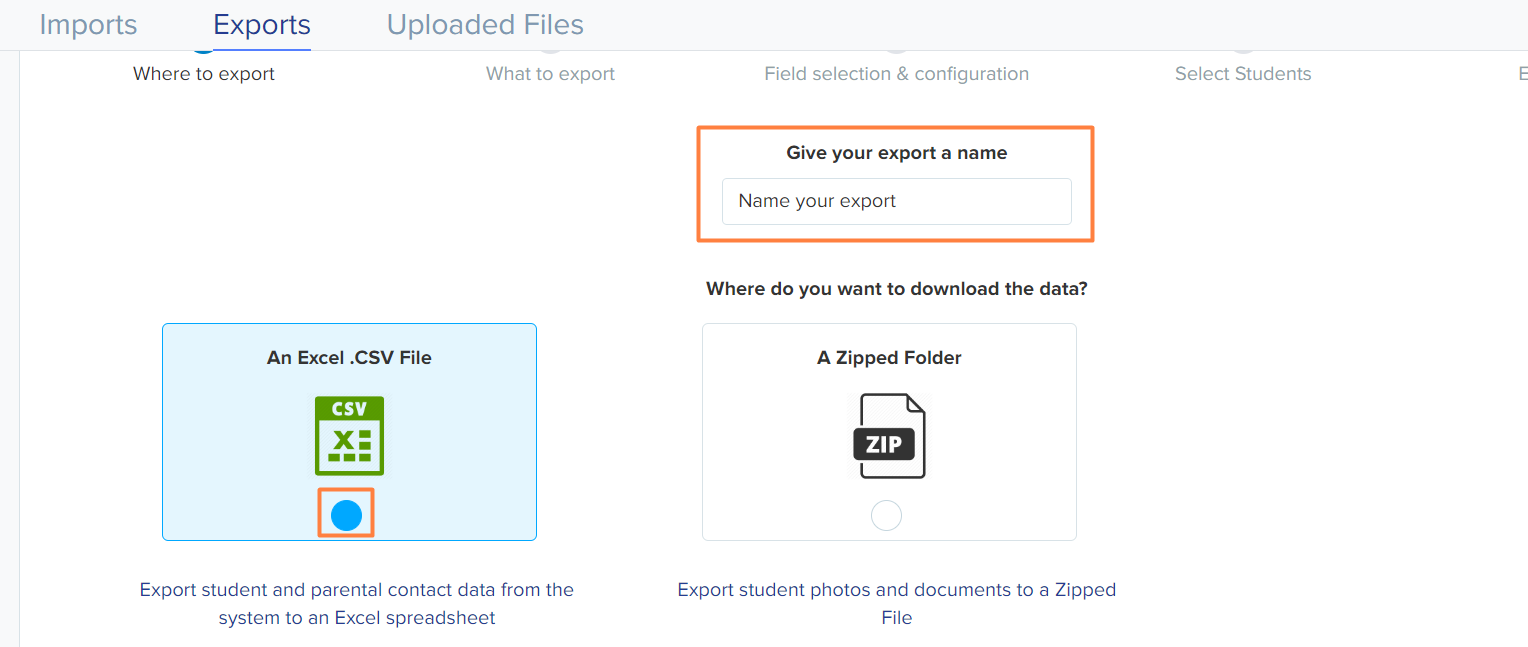
Give you export a name, select CSV, and click Next.
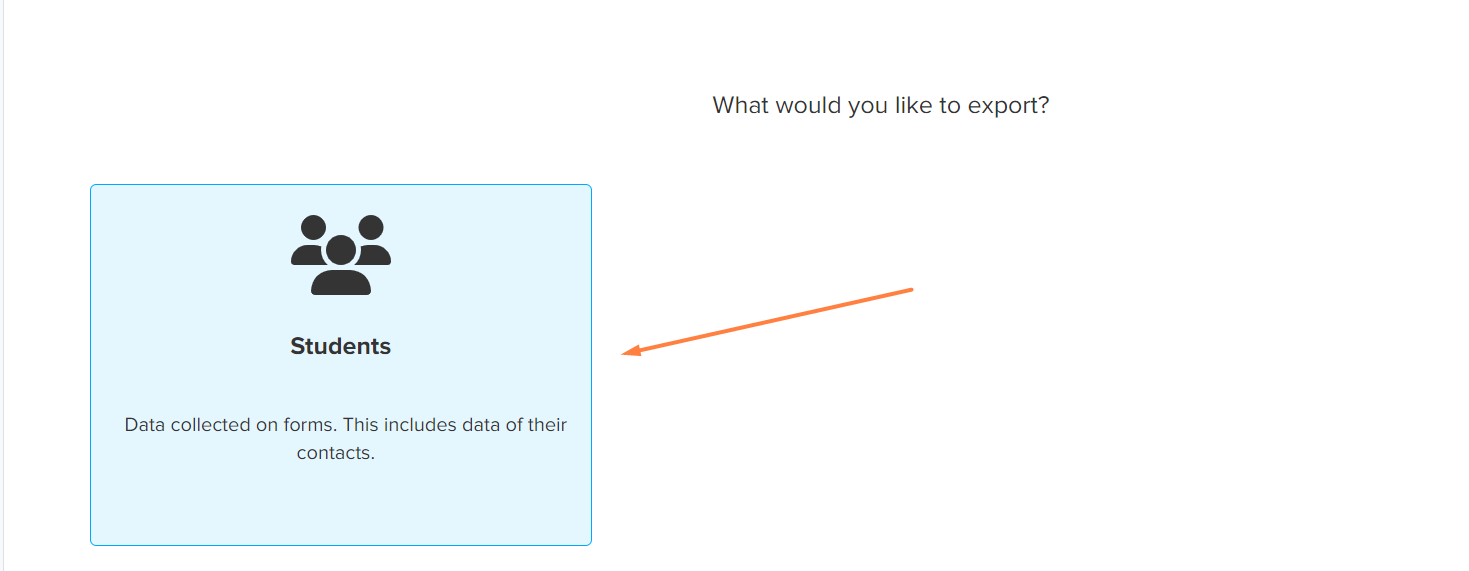
Select Students and click Next.
Select a category and the fields you wish to include in the report and hit Next. You can search for specific fields or look through each section.
Note: Some properties are pre-selected for you. You have the option to uncheck them across the top.
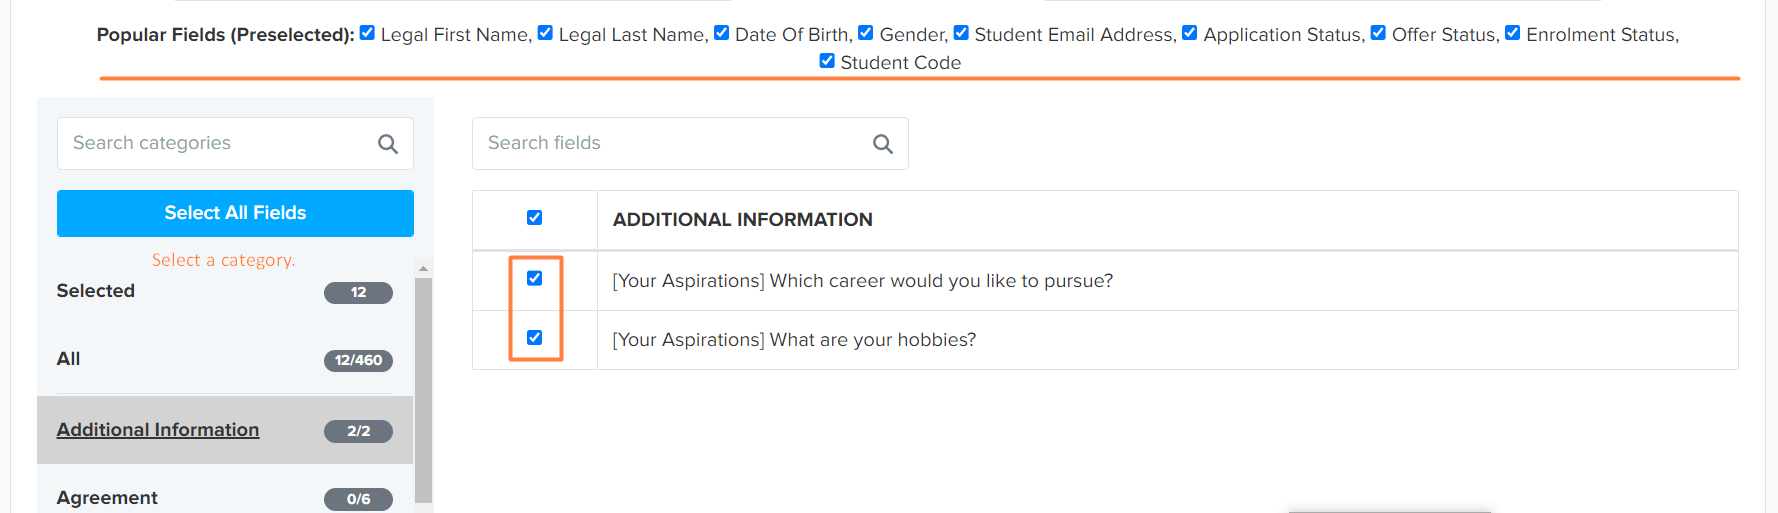
You can select as many fields as you wish, across different categories. This could include items such as their medical and welfare data, or course information, for example. You can see examples of popular export fields within this guide.
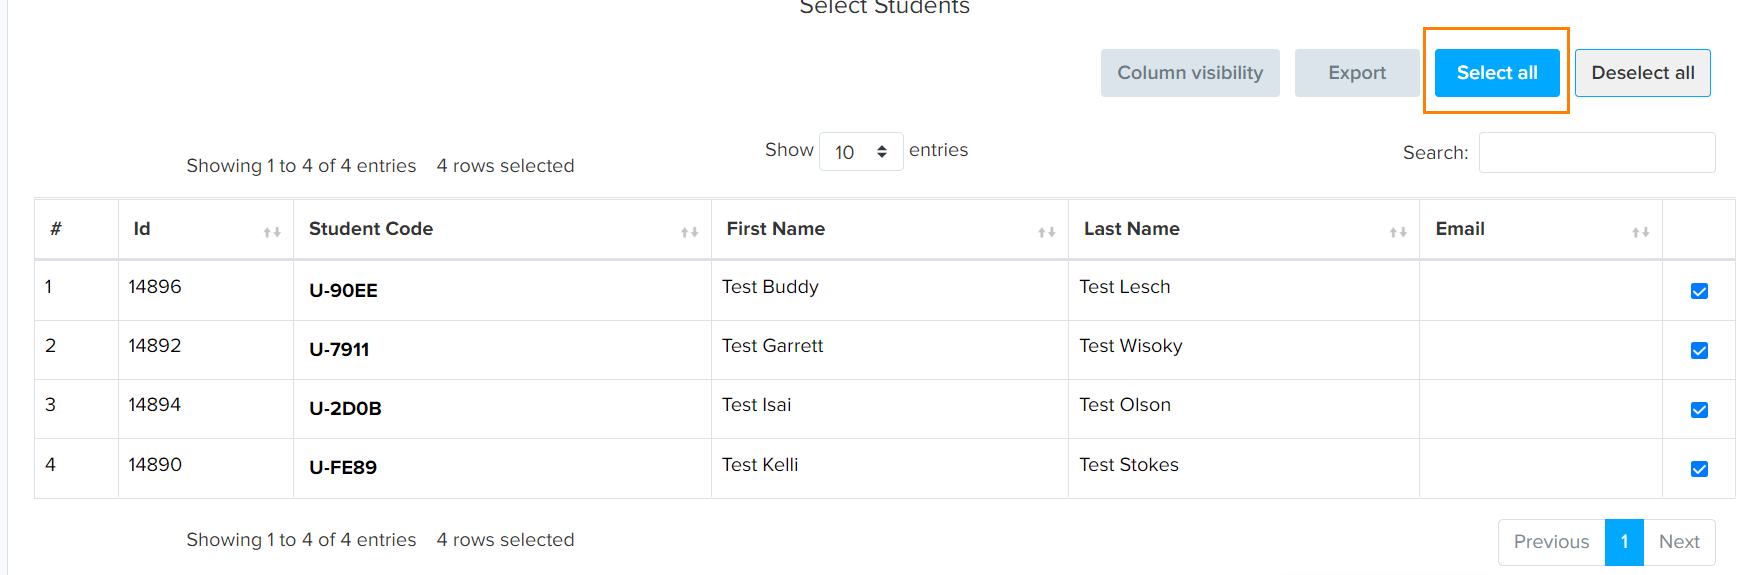
Once you have made your selections, you click "next" to decide which students will be included in the report.
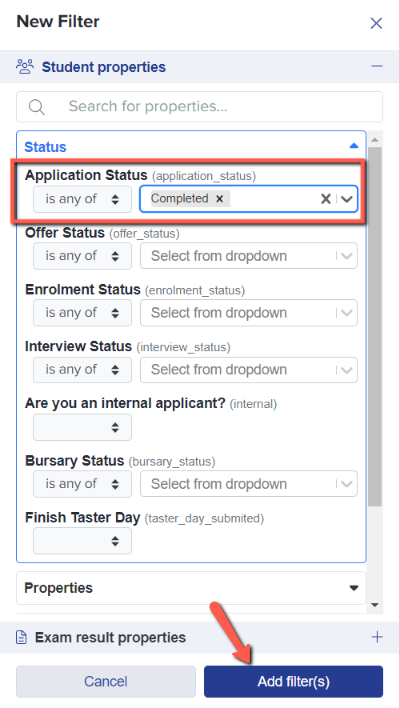
Note: You may filter this list to export only a selection of your applicants, if you need to narrow the export to a particular group.
Click on Select all and click Next.
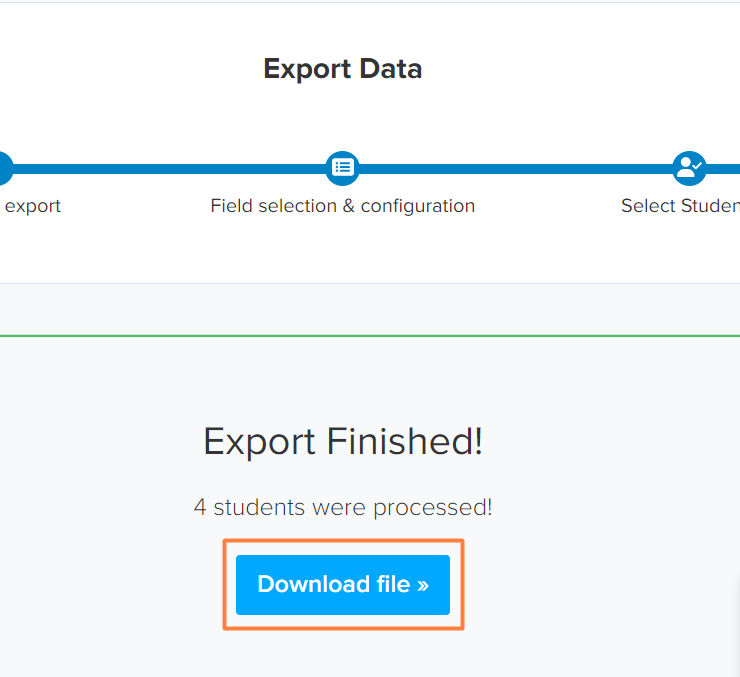
Once the export is done, save the file by clicking on Download file.
Once an export is complete, you will be able to view it within your list of exports by visiting Data > Export.

You can click to download a new copy of any export, or delete an export using the bin icon.
Refresh Export allows you to run the same export again for the same students, at this point in time (refreshed with any changes to the data since the time of your original export).
Clone Export copies the export, but allows you to change the parameters - for example, if you want to export the same data but for a different or updated listed of students.
When you clone an exported file, the system copies the filter configuration from the original, but the student list resets to show all students. This is by design — the student list is live and continuously updated, so the results may differ from when the original export was created. You will need to re-apply the filters manually to generate the current filtered results.