
This guide takes you through enrolling students by hand from start to finish: checking a student's details, marking them Ready to Enrol, confirming their subjects, adding a walk-in student, changing the status of several students at once, and putting a status back if you set the wrong one. Each stage links to a more detailed article at the end if you need it.
1. Open the enrolment pipeline
Open your application form and go to Enrolment. The tabs across the top are the pipeline, and they show you where every student currently sits.

- Details to be checked - the student has applied and is waiting for you to check what they have given you.
- Ready to Enrol - their details are checked and you can now confirm their subjects and classes.
- Enrolled - the student is enrolled.
- Enrolment Waiting and Enrolment Declined - students you have put to one side or turned down.
2. Check a student's details
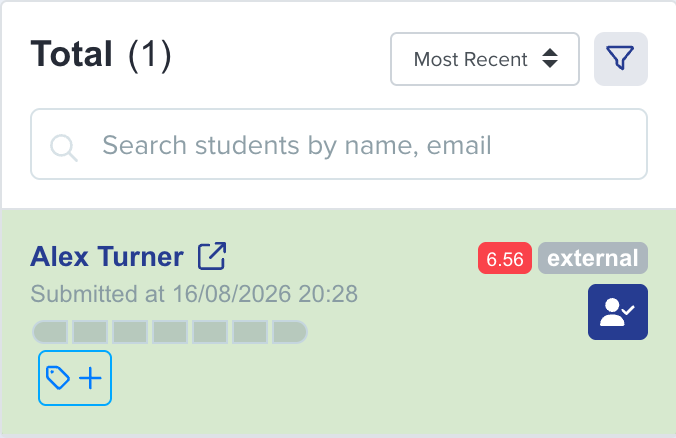
Select the Details to be checked tab. The students waiting to be checked are listed on the left, and you click a student to open their record.
3. Mark the student Ready to Enrol
On the student's profile, click the Enrolment Status box at the top, then click Checked & Ready to Enrol.
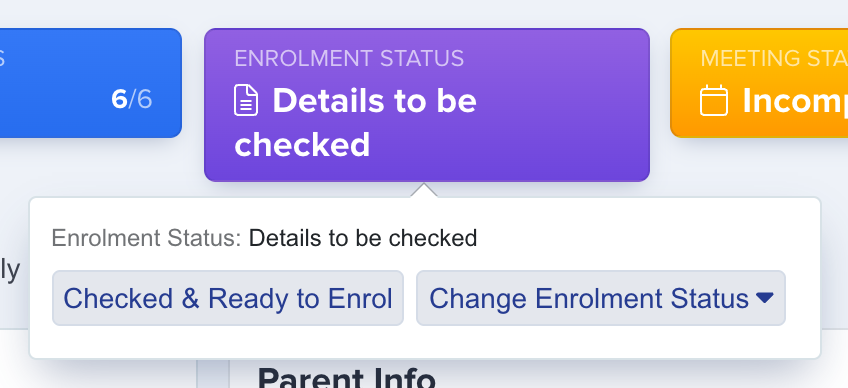
- You have to confirm every section of the student's details first. If any section is still unconfirmed you will see the message "Please confirm all sections!" and the status will not change.
- Checked & Ready to Enrol only appears when the student's application status is Completed. If it is not, the profile tells you "Only available to change if the student application status is completed" instead.
4. Confirm subjects and allocate classes
The student now shows under Ready to Enrol. Open that tab, click the student, and move each subject across from Application Form Subjects into Confirm Subjects. Use Auto Allocate Classes to put the student into classes.
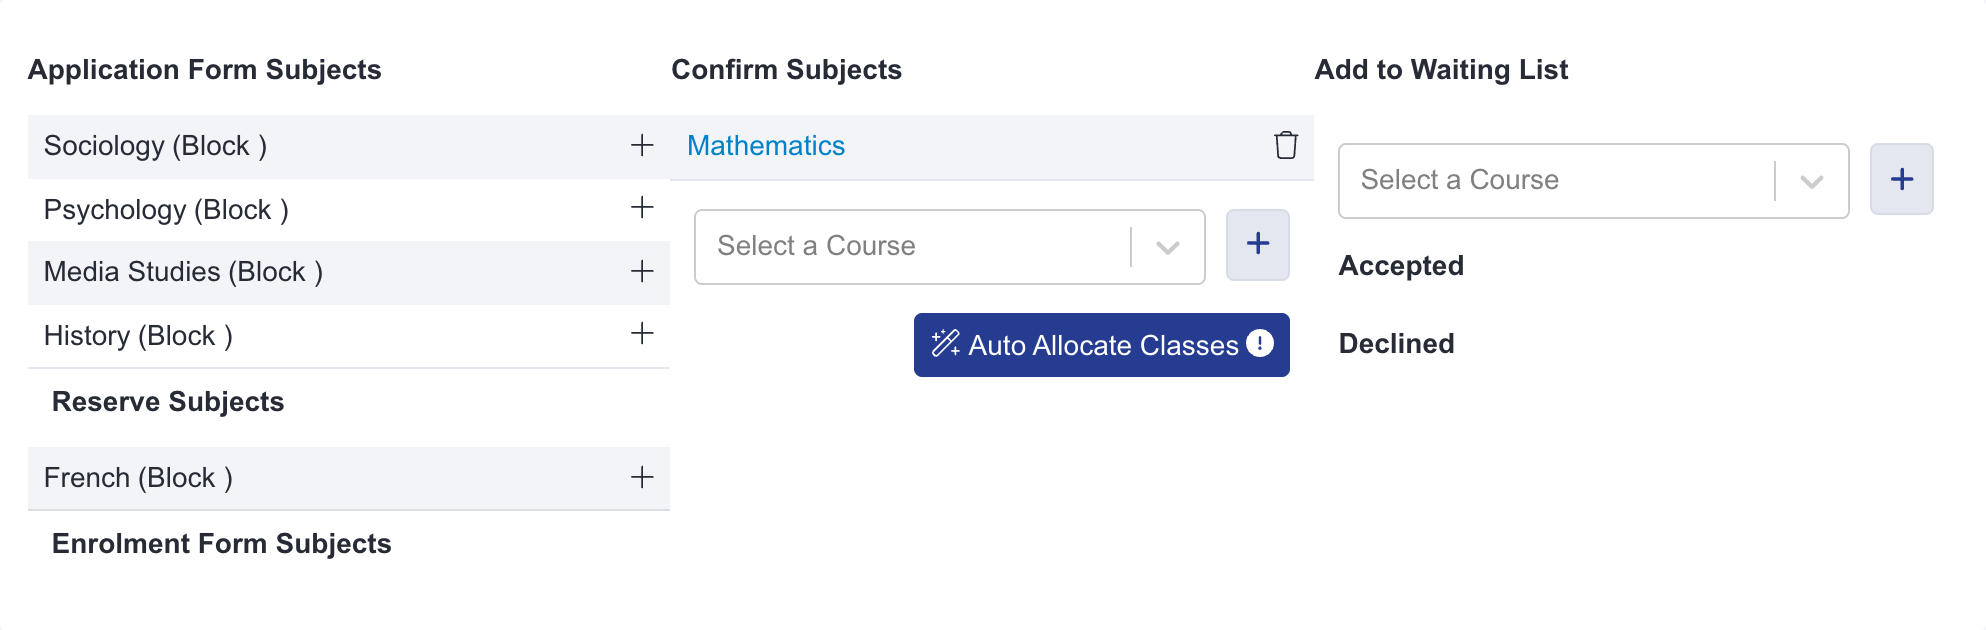
- On a Sixth Form Application form you cannot set a student to Enrolled from a status list. You add them to their classes and submit their enrolment here, and that is what moves them into Enrolled.
- Add to Waiting List on the right is for a subject the student wants but cannot have yet.
5. Add a walk-in student
If a student turns up without having applied, you can create them yourself. Go to Manage Users and click Manually Add People.
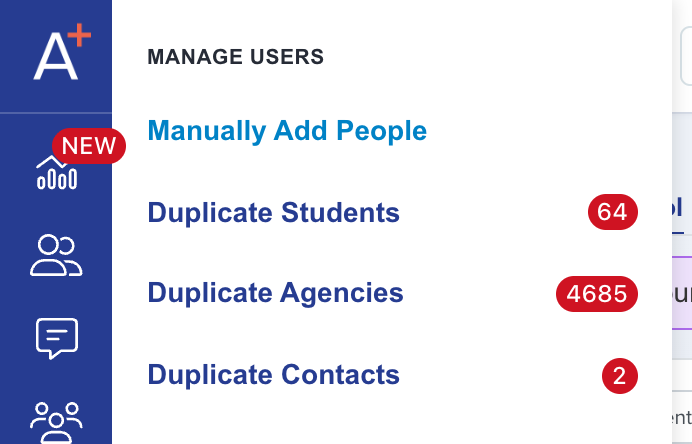
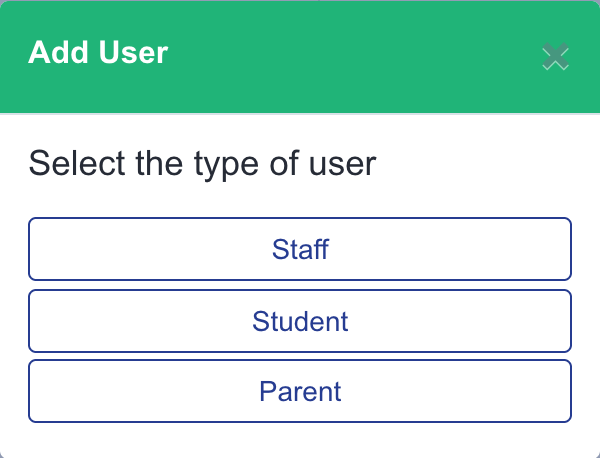
Choose the type of user you are adding, then follow the prompts to enter their email address and details. The new student joins the application form you are working in, so they appear in the pipeline with everyone else.
6. Change the status of several students at once
Open Registered Students, tick the students you want, and the action bar appears above the table. Change Enrolment Status and Change Application Status are both there.

Pick the new status, type the number shown in the box to confirm, then click Update.
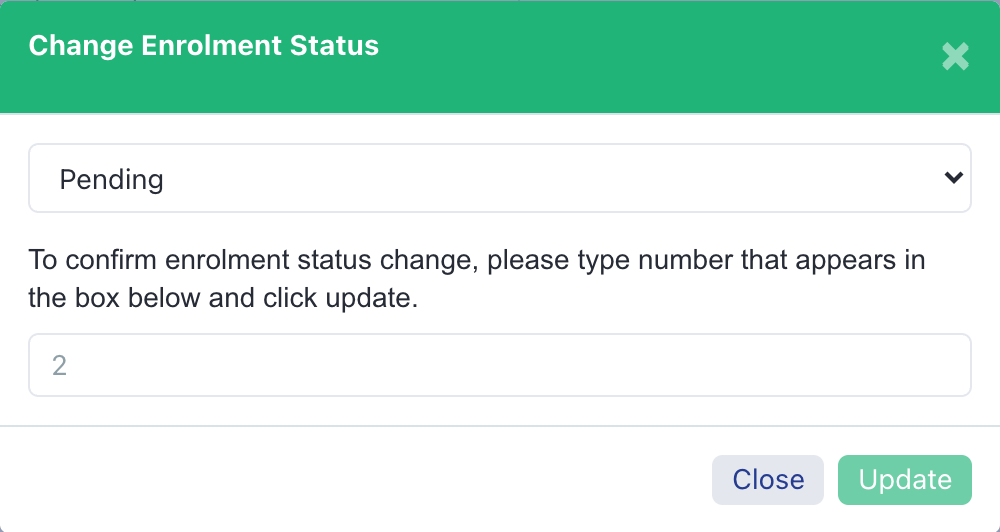
- Update stays greyed out until the number you type matches the number of students you selected. This is deliberate, so a bulk change cannot happen by accident.
7. Put back a status you set by mistake
Open the student's profile, click the Enrolment Status box, then Change Enrolment Status, and choose the status you meant to set.
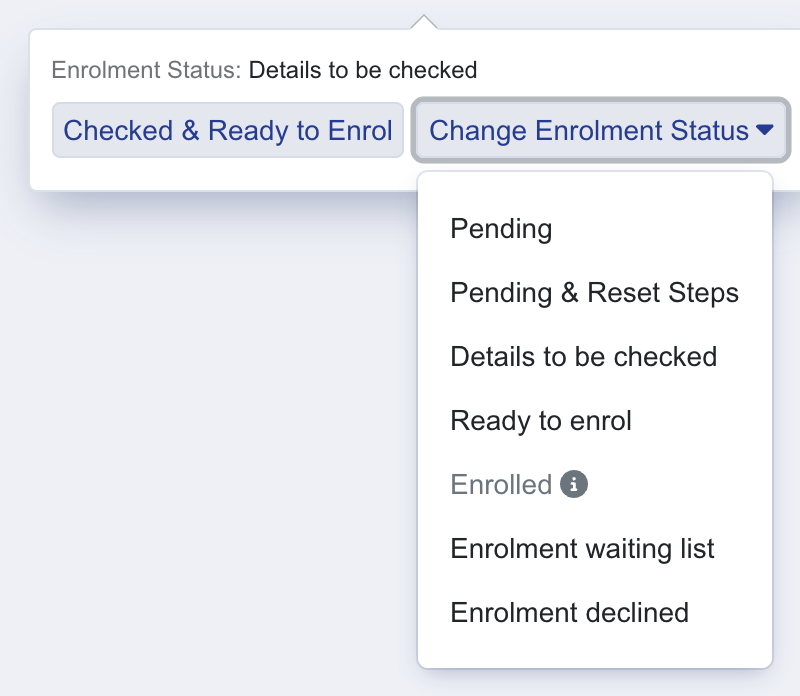
- Pending & Reset Steps does more than change the status - it also clears the steps the student has completed, so they start the form again. Use plain Pending if you only want the status back.
- You can do the same for a group of students from the action bar in step 6.