
This article explains the two example spreadsheets you can use to import student grades into your sixth form (enrolment) application form, how to import more than one cohort, how to check which rows were imported and which were skipped, and how to get the grades back out into a spreadsheet.
The two example files
There are two sample files, and you should use whichever layout matches how your data is arranged. You do not need to use both - pick one.
- Version 1 - multiple grades in a row: one row per student, with a separate column for each qualification.
- Version 2 - single grade in a row: one row per grade, with columns for the qualification level, the qualification title and the grade.
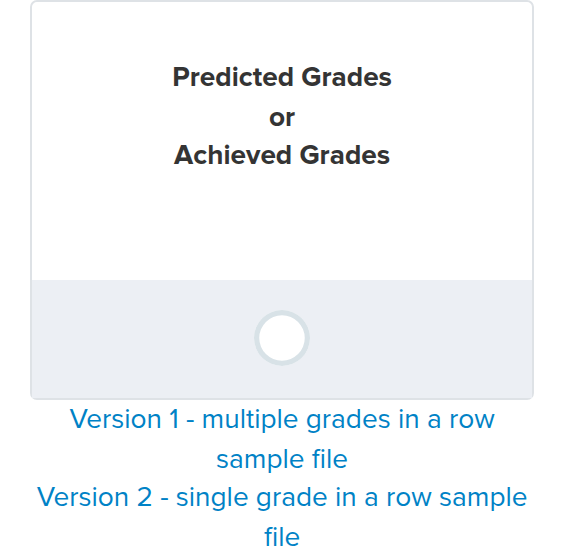
To import a completed file, open your sixth form application form, go to the "Data" area and choose "Imports", then click "Start an Import" and select the "Predicted Grades or Achieved Grades" option. You can download both sample files directly from this card - "Version 1 - multiple grades in a row sample file" and "Version 2 - single grade in a row sample file".
Whichever layout you use, Admissions+ matches each row to an applicant who is already on the form using an identifier column - email, SIMS admission number, Unique Learner Number (ULN) or Unique Pupil Number (UPN). Make sure that column is filled in for every student, otherwise the row cannot be matched.
Do I have to import every cohort at once?
No. You can run the grades import as many times as you like - for example one file per cohort, or a fresh file after each results day. Each import only affects the students listed in that file, so grades for students who are not in the file you upload are left untouched. Importing two cohorts as two separate CSV files is completely fine, and neither file overwrites the other.
Checking which rows imported and which were skipped
When an import finishes, open its report. Any row we could not match to a student is listed in the "Import Errors" table with the message "Student not found", the line number and the data from that row, so you can see exactly which students were skipped, correct them and re-import just those rows.

The usual reason a row is skipped is that the identifier in the file (email, admission number, ULN or UPN) does not match a student already on the form. Check that column, fix the affected rows and upload them again.
Exporting grades back to a spreadsheet
To get grades back out, go to the "Data" area, choose "Exports", start an export to an Excel .CSV file, and on the "Field selection & configuration" step add the "Student Predicted and or Achieved Grades" column.

This single column contains both predicted and achieved grades - there is no separate "achieved grades only" export. Each grade is tagged with its status, so an achieved grade appears with an "[Achieved]" label and a predicted grade with a "[Predicted]" label. Once the spreadsheet has downloaded, filter or sort on that status label to keep only the achieved grades.
Whether a grade is treated as predicted or achieved comes from its status in Admissions+: when you import a batch of grades you tell Admissions+ whether those are predicted or achieved, and that is the status that appears against each grade in the export.
Related articles
If a grade exports with the wrong status, or you are not sure why a row was skipped, ask Emma using the help button in the bottom-right of any page, or contact the team through "Support & Requests".